Guide to Updating the Firmware for Ellipal Titan 2.0 and Ellipal Mini Wallets

The Ellipal firmware update enhances security (fixes vulnerabilities), adds support for new cryptocurrencies and tokens, and optimizes the interface and operational stability.
Before performing any update, always make sure you have a backup of your seed phrase. If the update process is interrupted or the device fails, without the seed phrase it will be impossible to restore access to your funds!
Step 1 – Prepare the microSD Card
To update your wallet, first prepare an empty microSD card. Most often, this card comes included with the device.
Connect the SD card to your PC and make sure it is formatted as FAT32 for the update to work correctly. To do this, right-click the card → Properties → File system.
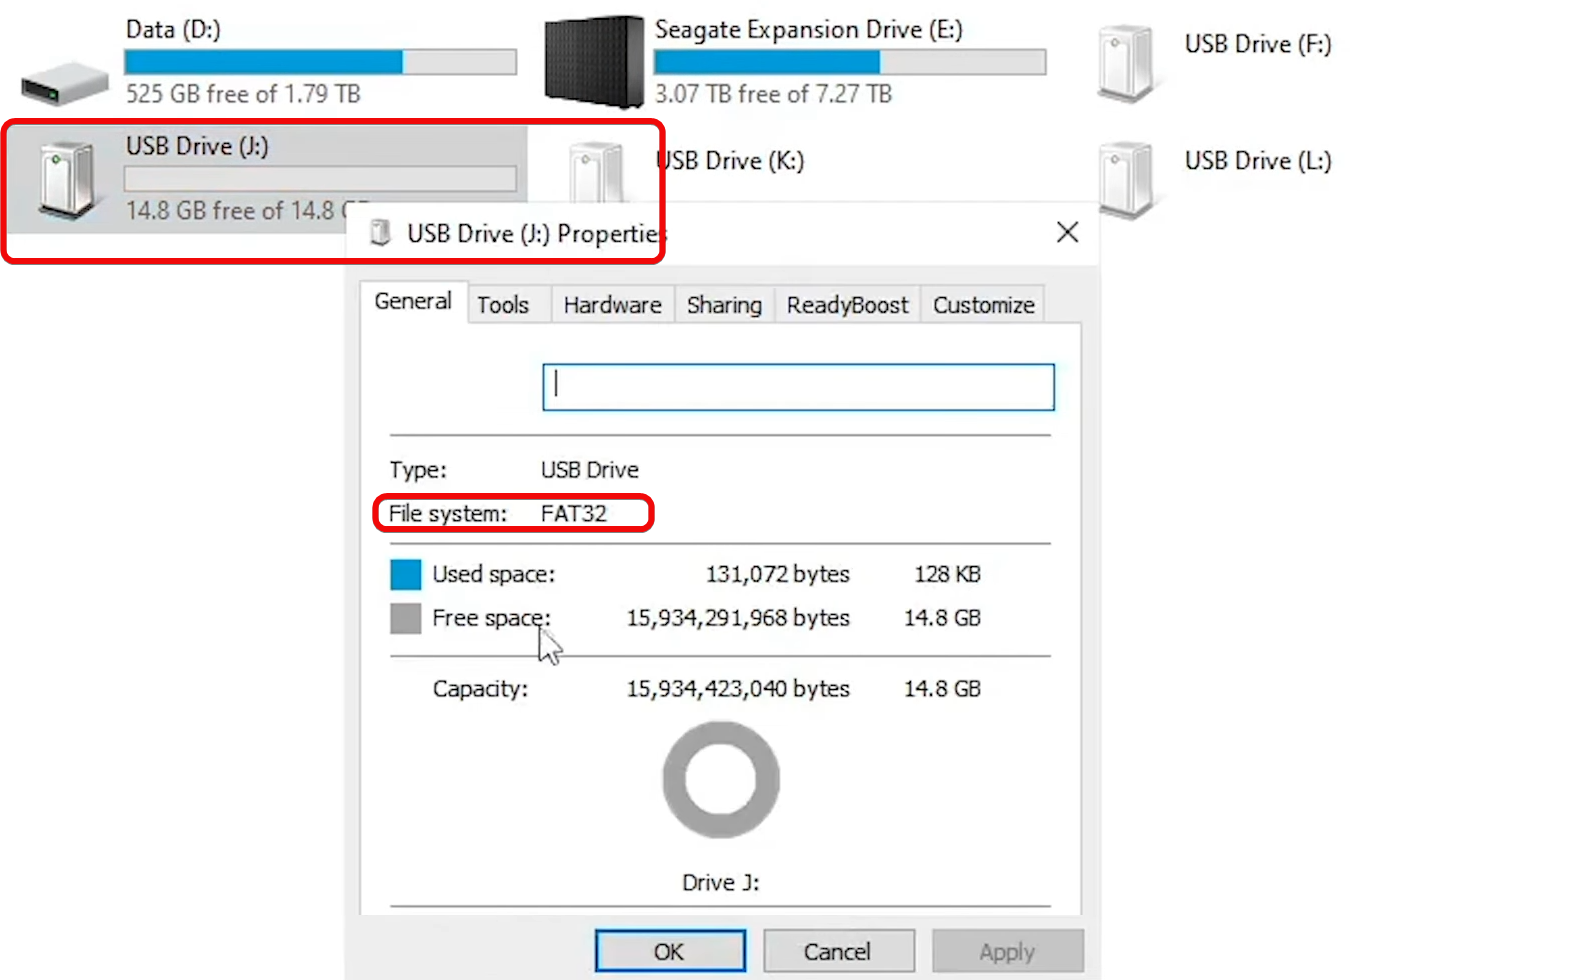
Format the card if it is not in FAT32. Right-click the card → Format → File system: FAT32 → Start.
Step 2 – Download the Firmware
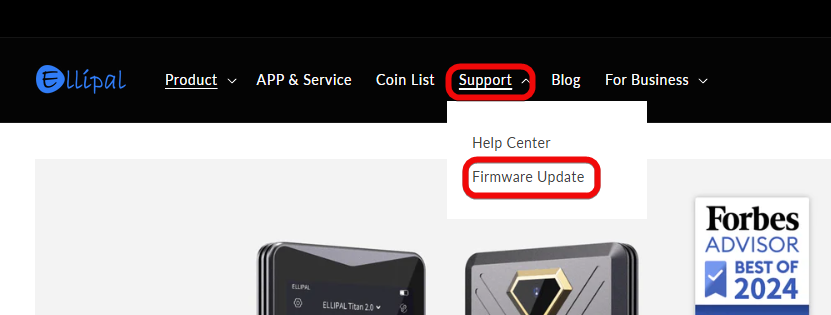
Go to the official Ellipal website and locate the Firmware Update section at the top of the page.
On the update page, select your device model.
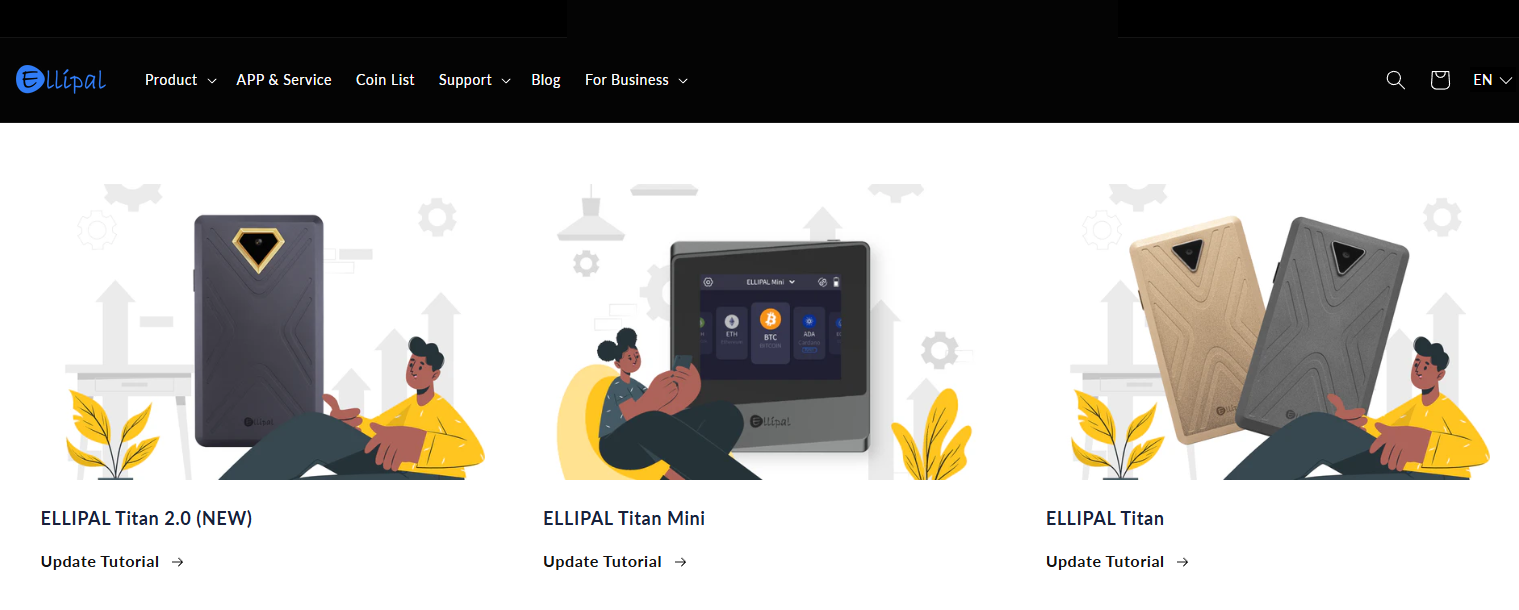
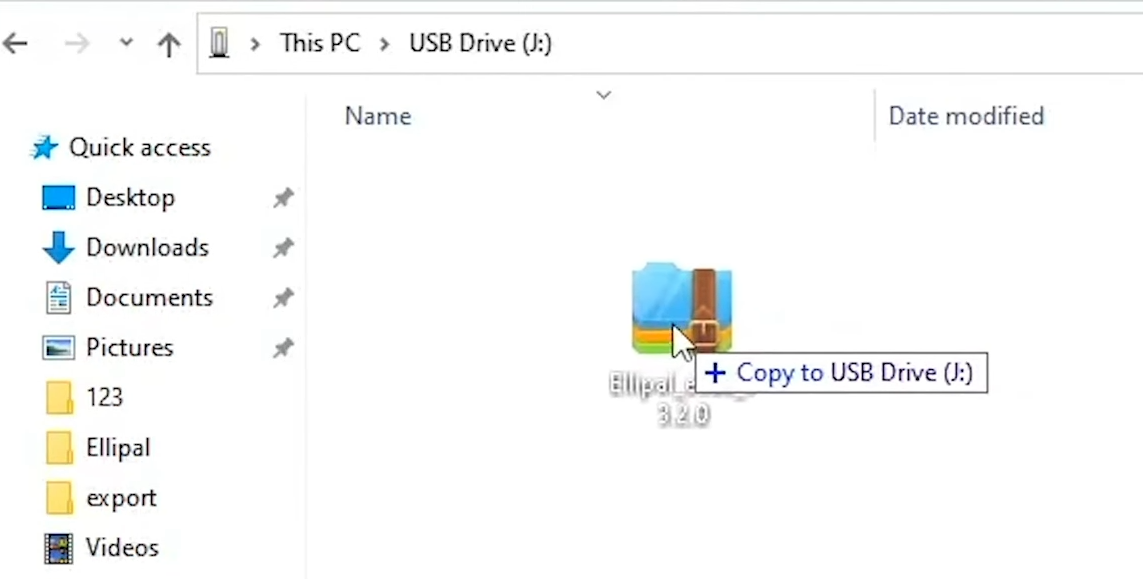
Scroll down to the guide and click Download. Save the file to the SD card.
Attention: do not rename or extract the downloaded file. Copy the file in its original format so that it is the only file on the memory card.
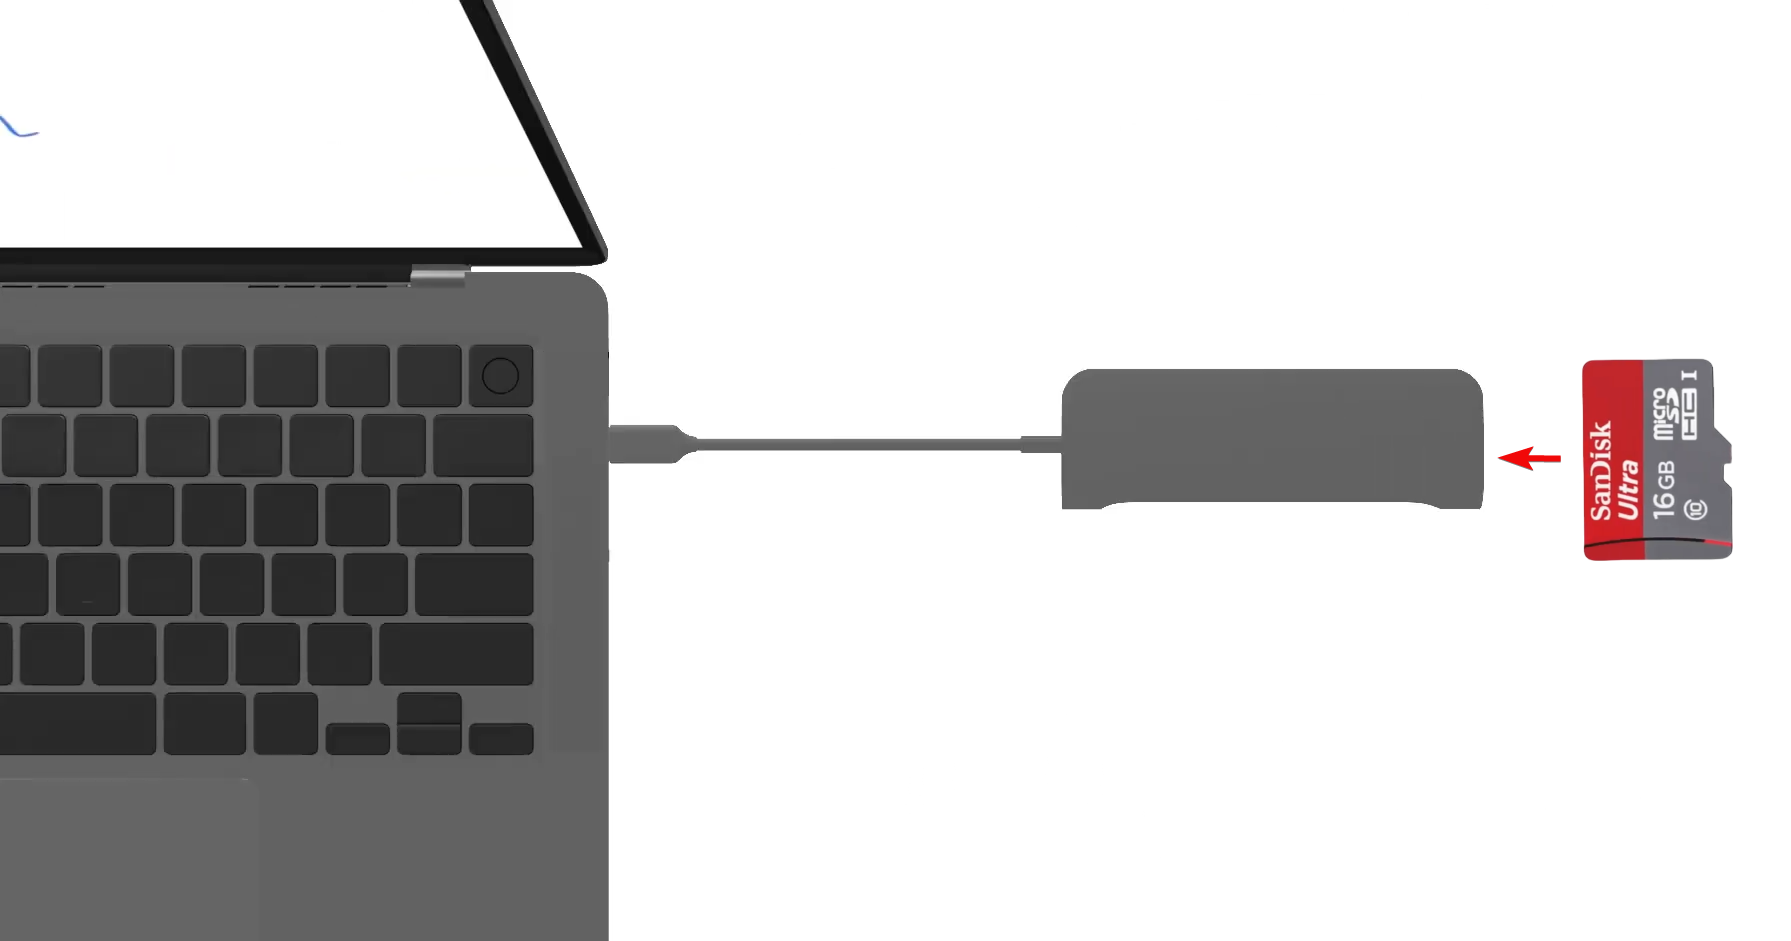
Step 3 – Insert the Card into the Wallet
Ellipal uses a special adapter with a slot for the microSD. Inside the adapter is a microcontroller that mounts the memory card and passes its contents to the wallet itself. The correct operation of this chain determines the success of the update.
The update process is identical for both Titan and MINI. For Titan 2.0, a dock station with a microSD slot is used. For Mini, a simple adapter is used.
For Titan MINI:
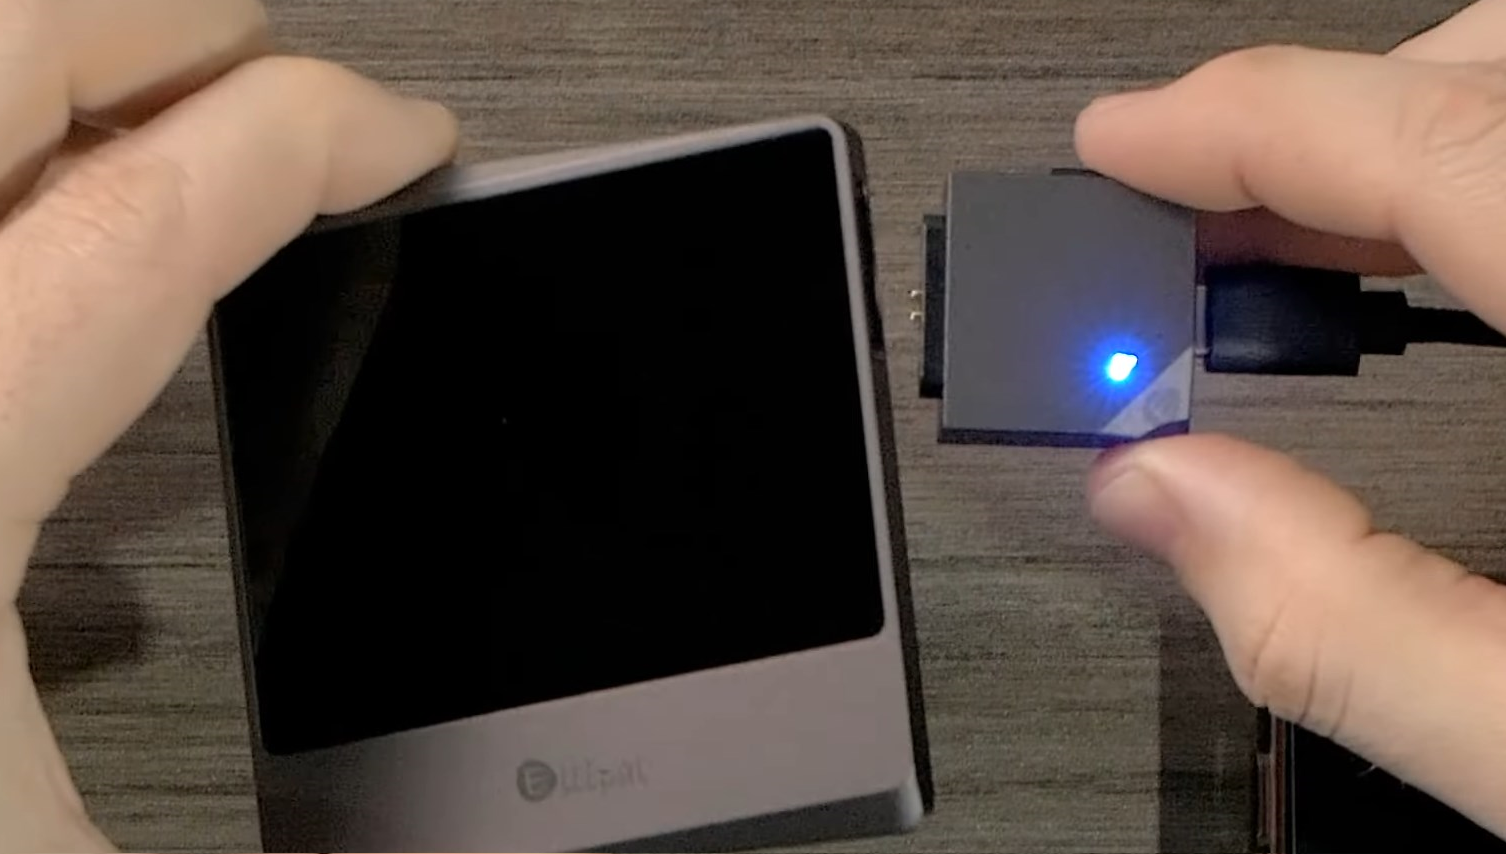
For Ellipal Titan 2.0:
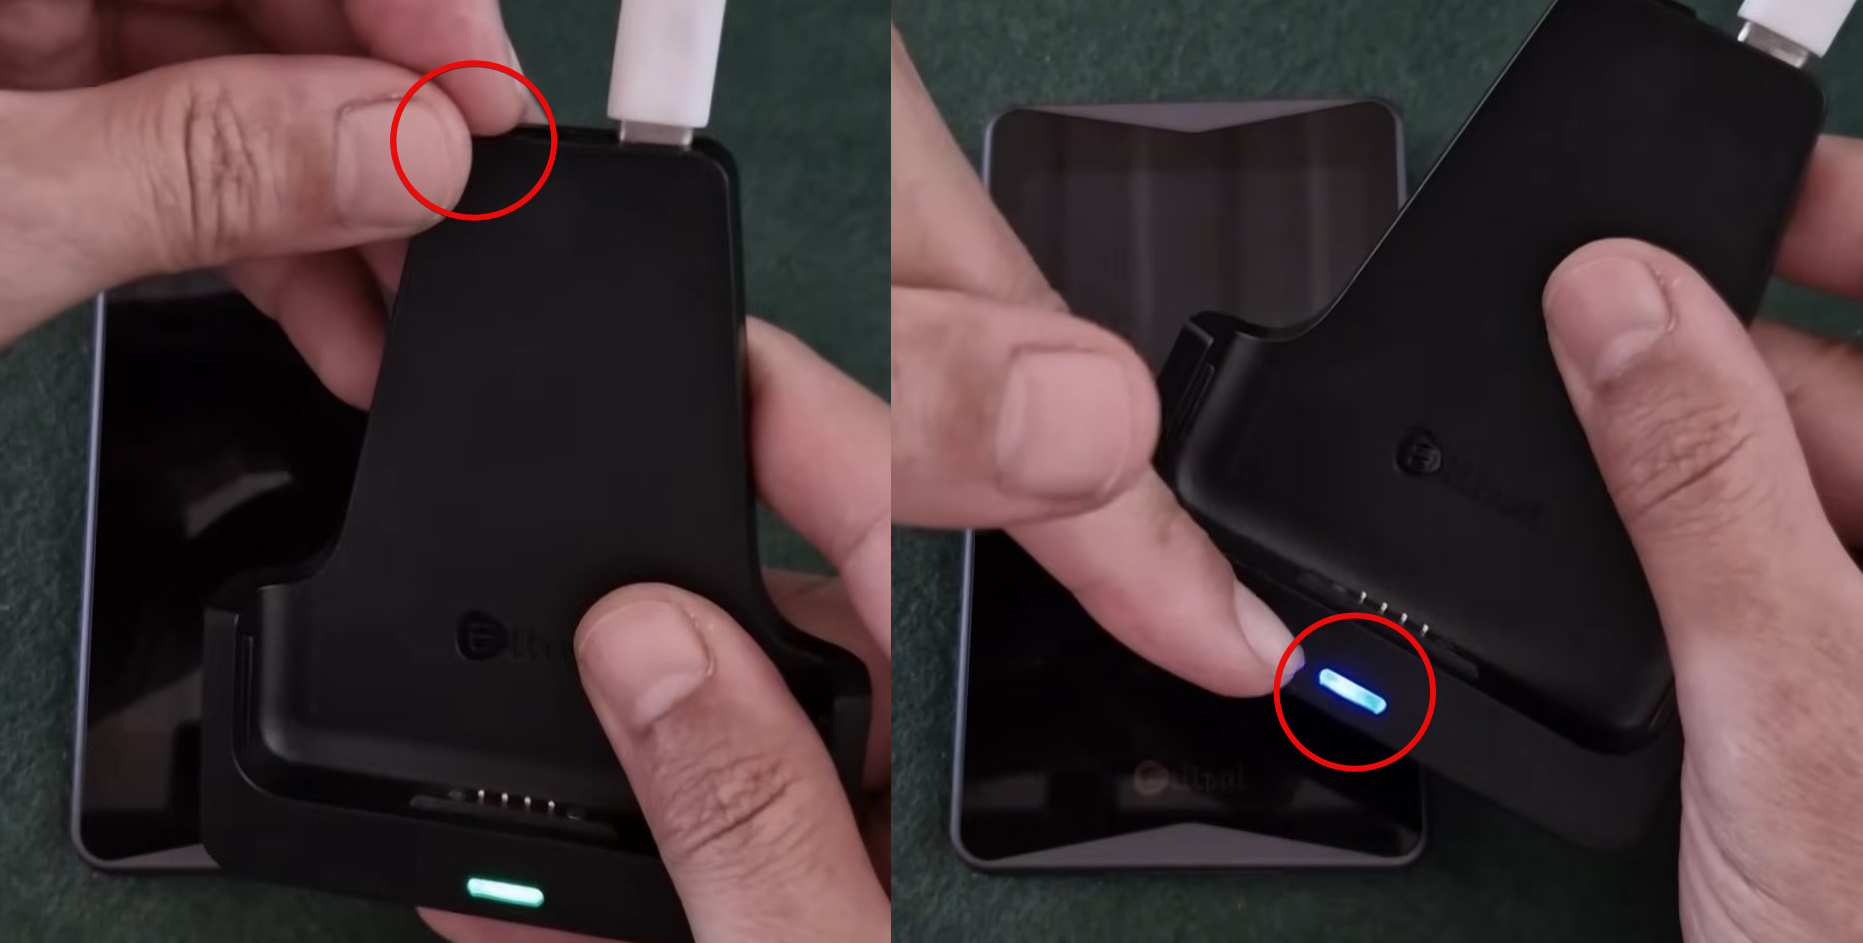
A blue light on the indicator means that the card has been successfully recognized and is ready for reading. A green light means that the card is NOT mounted and the update is not possible.
Sometimes the LED never turns blue and stays green the entire time. In this case, based on experience, the solution is as follows. Completely power off the adapter for at least 1 second (ideally 5 minutes to fully discharge the microcontroller). Then power it back on, and the LED should immediately blink blue.
It is important that if the blue indicator does not light up or you see the Examination Failed error, you should not simply reboot the wallet—it is necessary to disconnect and reconnect the adapter to the power source. This will reboot the microcontroller and allow it to mount the SD card.
Step 4 – Start the Update
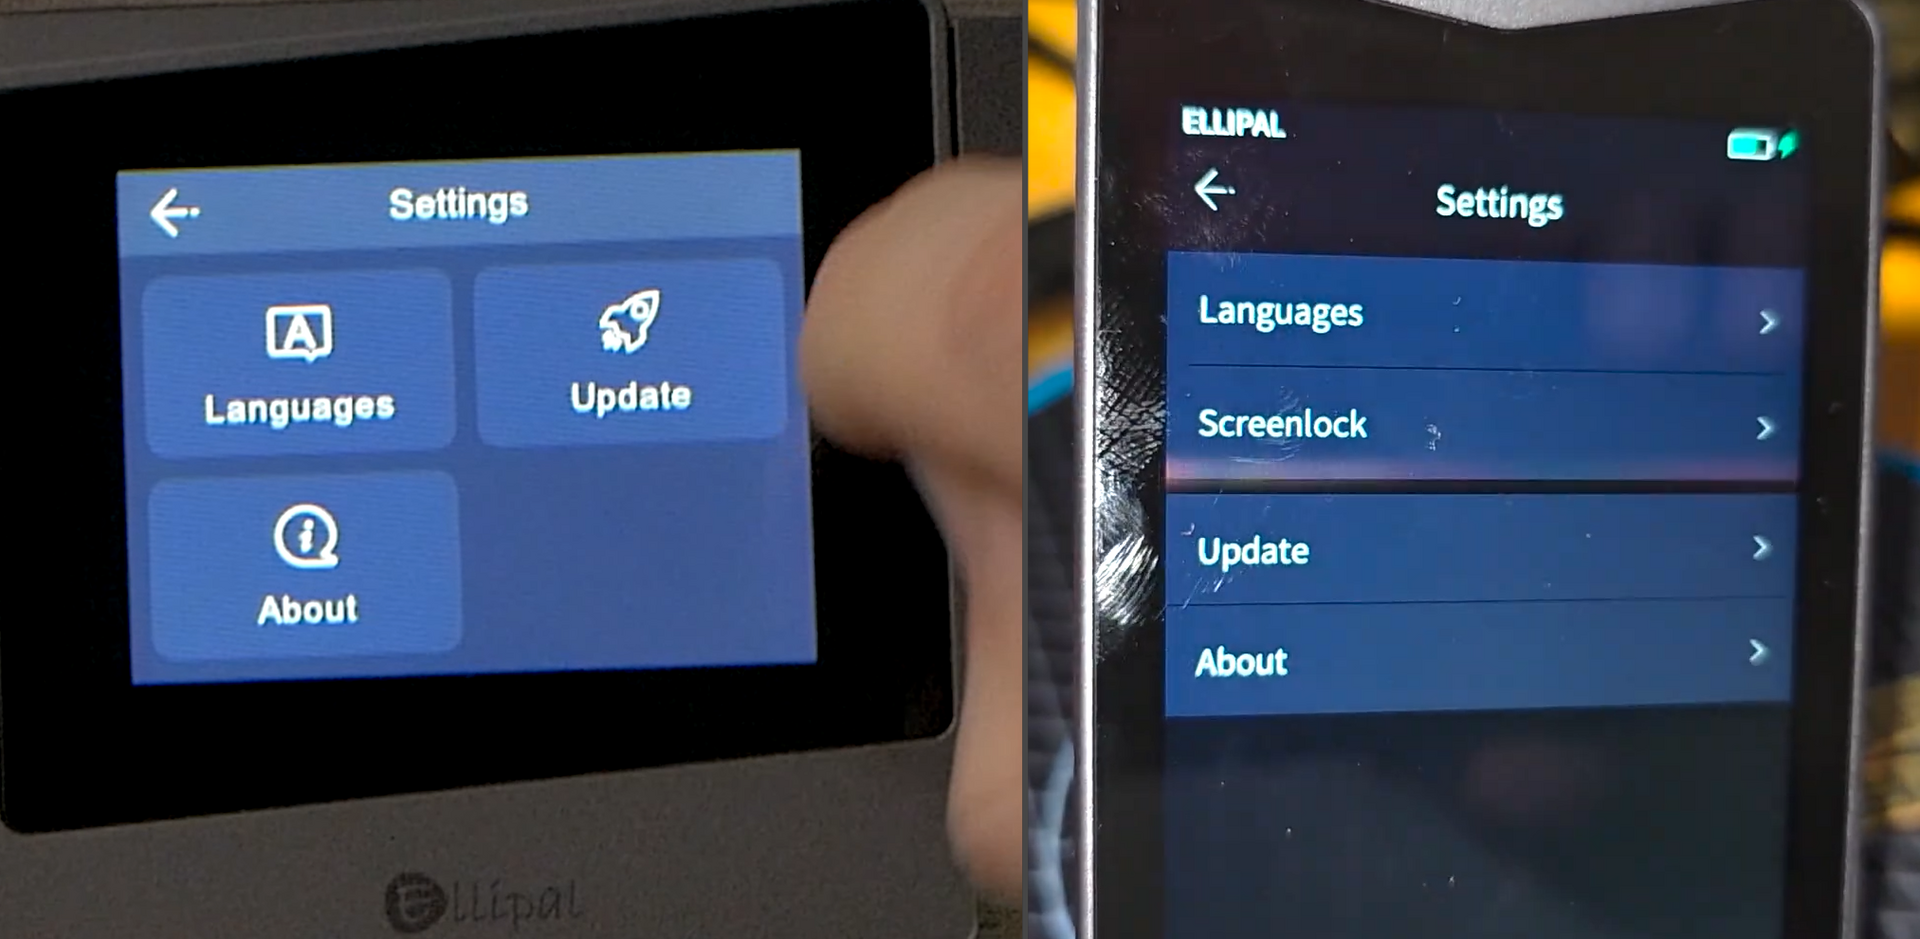
Next, turn on the wallet and go to the menu Settings → Update.
If the SD card is recognized correctly, the device will display the firmware file name and the current version.
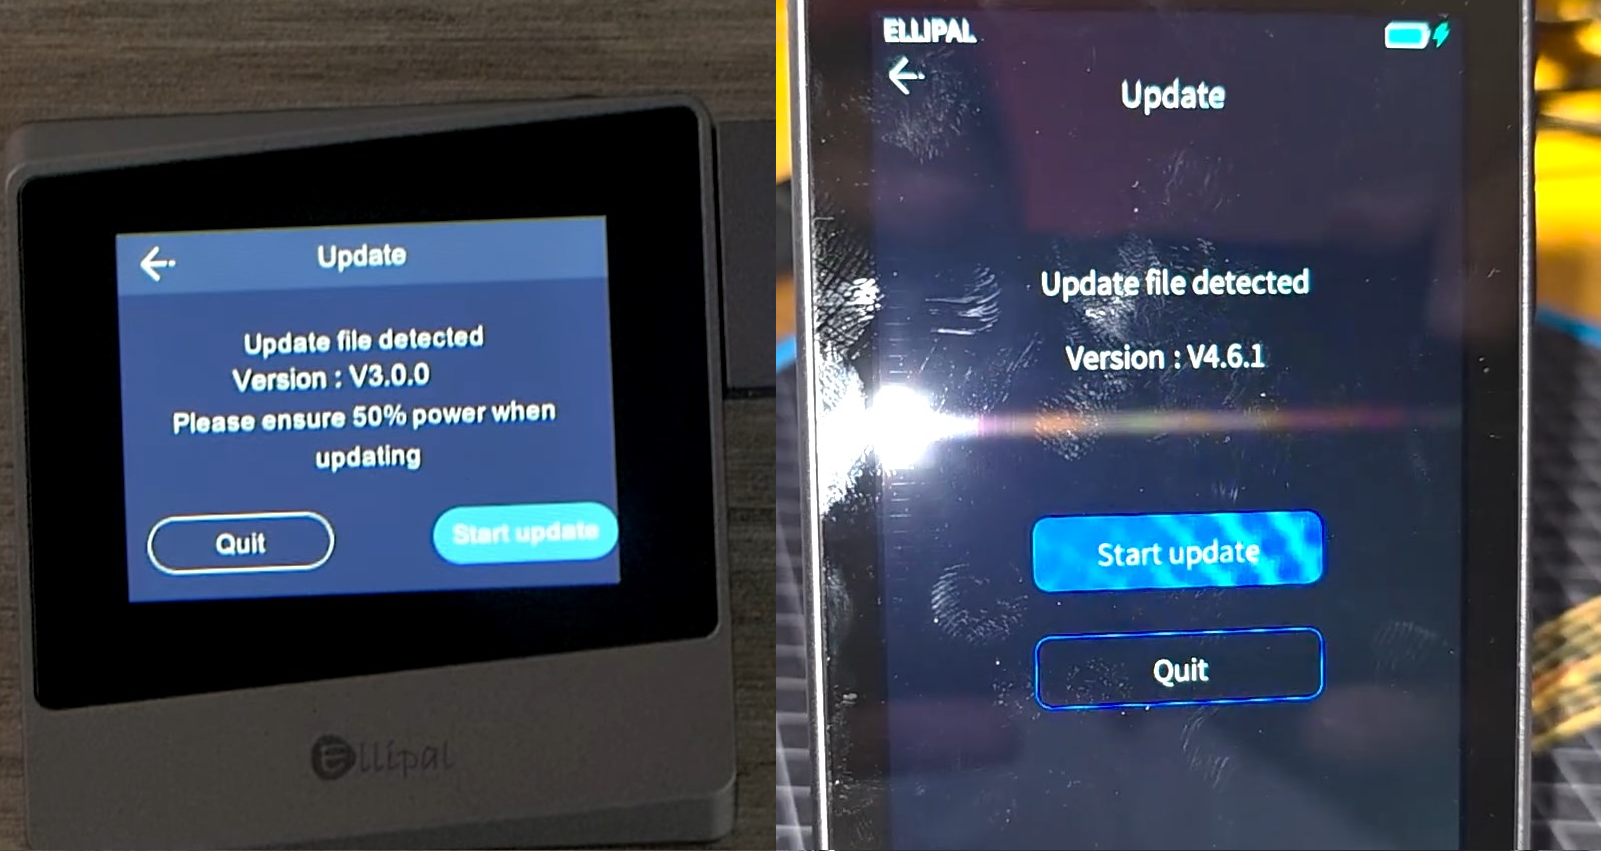
Tap Start Update and a progress bar will appear, copying and installing the firmware.
The update may take up to 5–10 minutes. Do not disconnect the power or remove the wallet from the adapter during this time. Upon successful completion, a message will appear: Updated successfully.
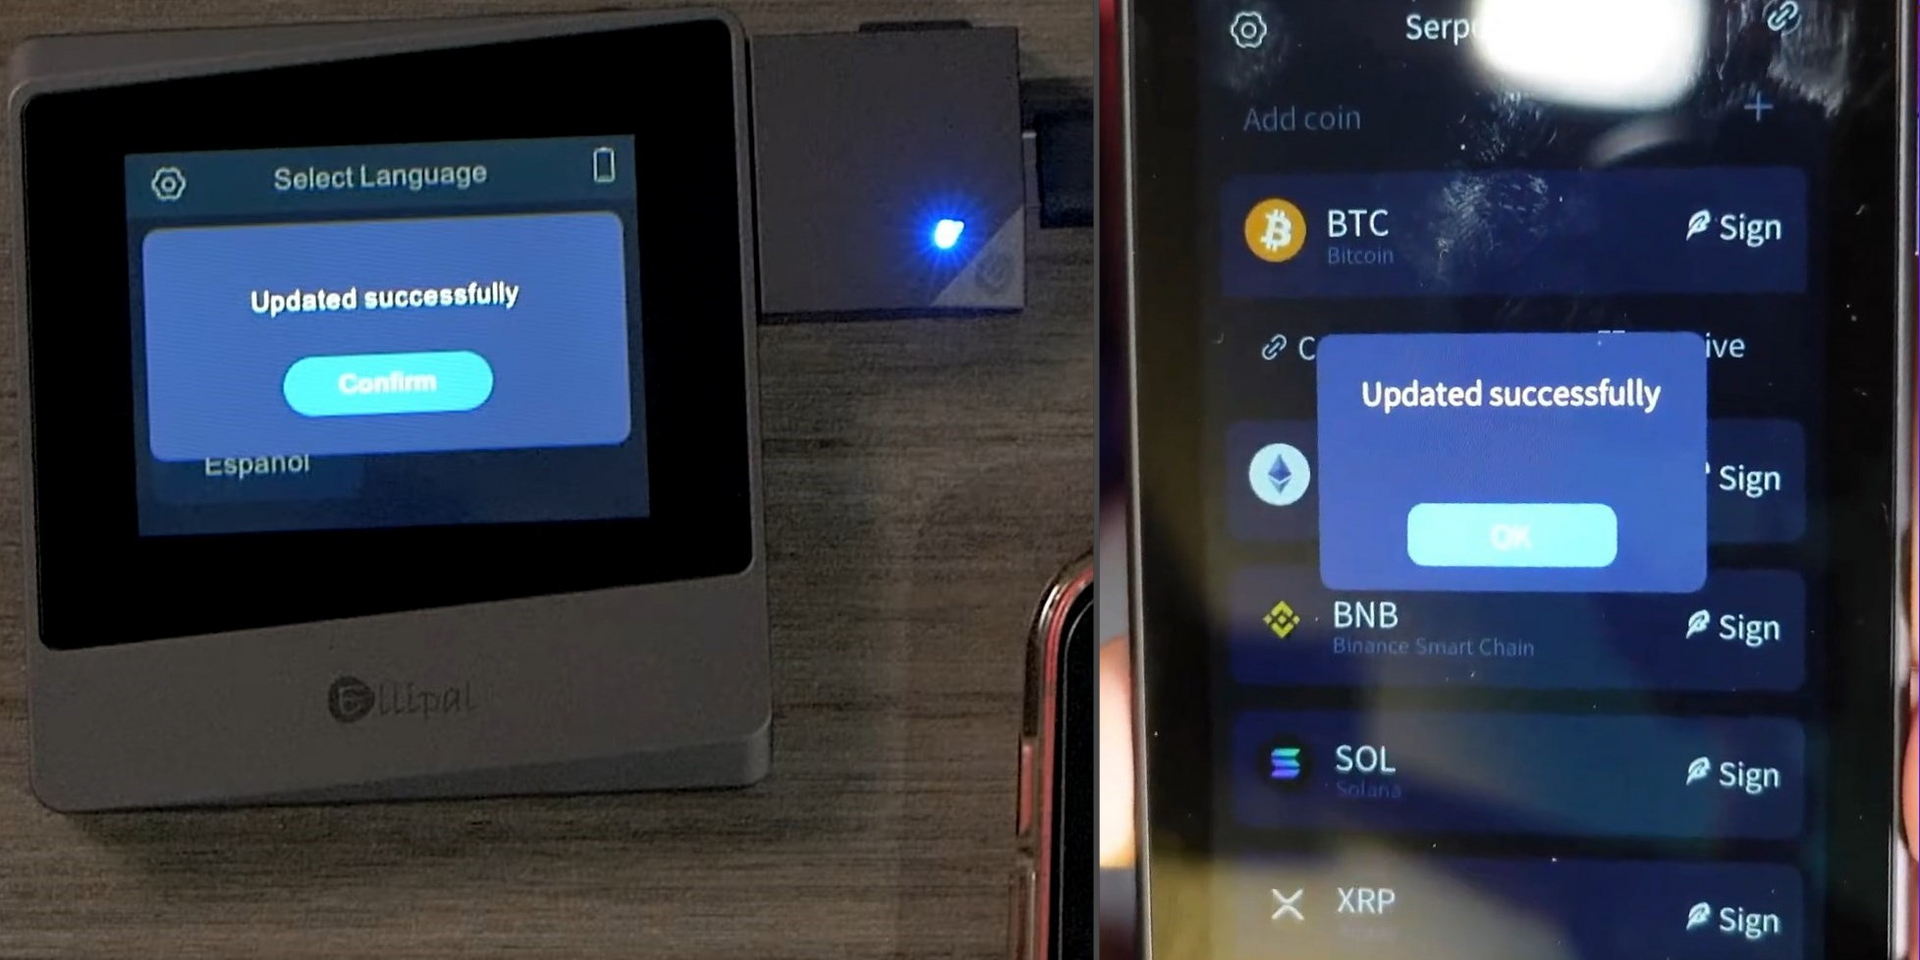
Congratulations. You have successfully updated the firmware and can now use your wallet.
In the guide on the mobile app, you will learn how to instantly synchronize balances, receive market movement notifications, and securely sign transactions.
In the guide on Ellipal Titan, you will learn how to set up hidden accounts with a separate passphrase option to conceal your wallet and maximize anonymity.
In the guide on Ellipal Mini with IP65 protection, you will discover how Mini offers the same advanced features as the full Titan, but in a more budget-friendly and portable format.
Summary
After a successful update, in the menu Settings → About, you will see the new firmware version displayed.
After the update, you may notice new networks/tokens, interface improvements, bug fixes (for example, recalculation of transaction fees, support for Taproot, a new version of the OS inside the wallet, etc.).
Technical Support:
- User Support Page.
- Contact email: cs@ellipal.com.
- Contact Us Page.

Now reading


In DePin, people create networks themselves, share traffic or capacity, and receive rewards in tokens from these projects.